With the Amazing Pushbutton built, it’s time to upload the sketch. Example 17-1 sends digital information to the Arduino IDE (integrated development environment) Serial Monitor and turns the onboard LED on and off with each press of the pushbutton switch. Here are the steps you’ll need to follow:
- Attach the Arduino to your computer using a USB cable.
- Open the Arduino software and type Example 17-1 into the software’s text editor.
- Upload the sketch to the Arduino.
Example 17-1. The Amazing Pushbutton sketch
/*
* The Amazing Pushbutton
*
* Reads a digital input from a pushbutton switch and sends the letter
* L or H to the Serial Monitor.
*
*
*/


// variables for input pin and control LED
  int digitalInput = 7;
  int LEDpin = 13;

// variable to store the value
 int value = 0;

void setup(){

// declaration pin modes
  pinMode(digitalInput, INPUT);
  pinMode(LEDpin, OUTPUT);

// begin sending over serial port
  Serial.begin(9600);
}

void loop(){
// read the value on digital input
  value = digitalRead(digitalInput);

// write this value to the control LED pin
digitalWrite(LEDpin, value);

// if value is high then send the letter 'H'; otherwise, send 'L' for low
if (value)  Serial.print('H');
            else
            Serial.print('L');

 // wait a bit to not overload the port
  delay(10);
}
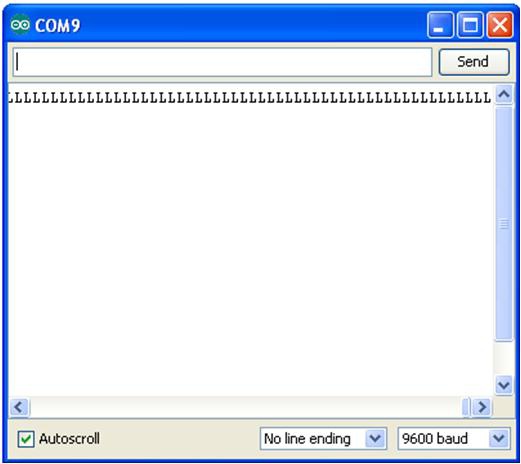
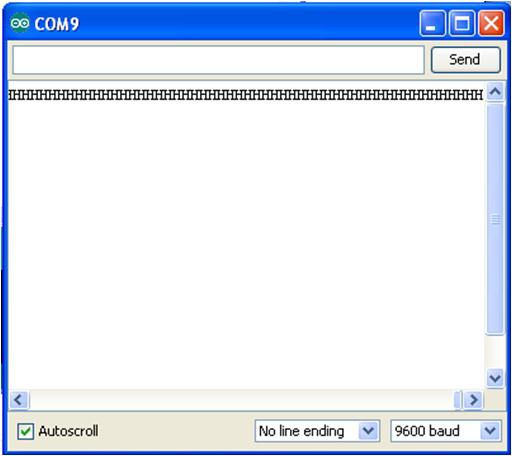
Once the Amazing Pushbutton sketch has been uploaded to the Arduino, the Serial Monitor will display “L” repeatedly in a row, as shown in Figure 17-3. Press the pushbutton switch, and the Serial Monitor displays “H” repeatedly in a row (see Figure 17-4).

Figure 17-3. L’s being displayed on the Arduino Serial Monitor

Figure 17-4. H’s being displayed on the Arduino Serial Monitor
Leave a Reply